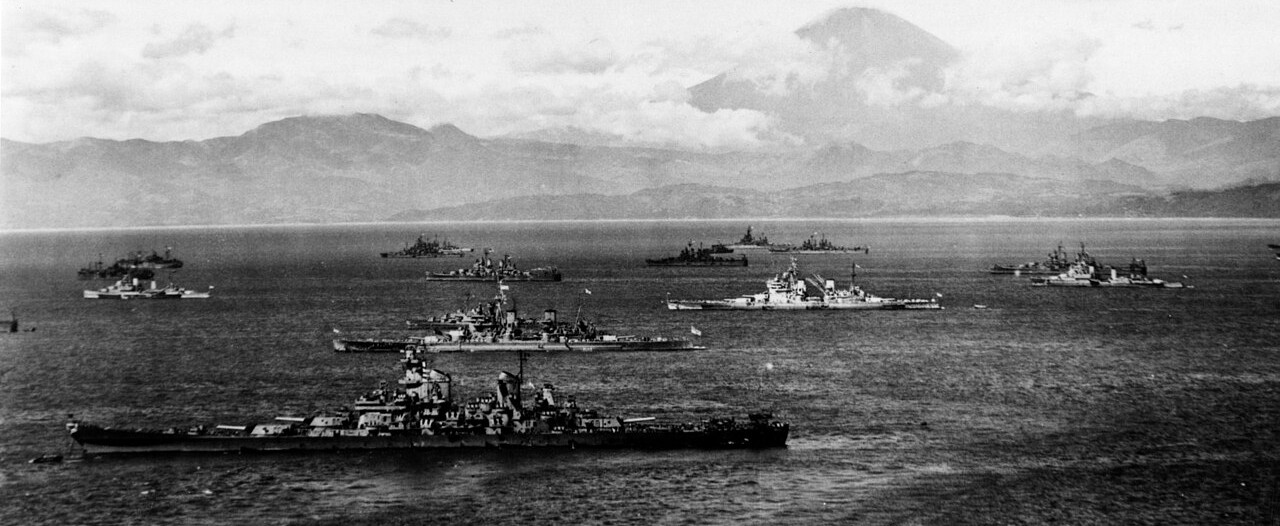
In the Lemurian Empire page is the Ambony Class monitors in which I use up the four twin 15" turrets left over from the conversion of the Queen Rafohy to an aircraft carrier. Bur what if..... my favourite phrase!!
Lemuria could have just as easily built a small battleship/battlecruiser to use those same turrets. The one ship would have used less resources than building the two Ambony. Having one more full Capital Ship, would have made the Lemurian Navy look just that little bit better.
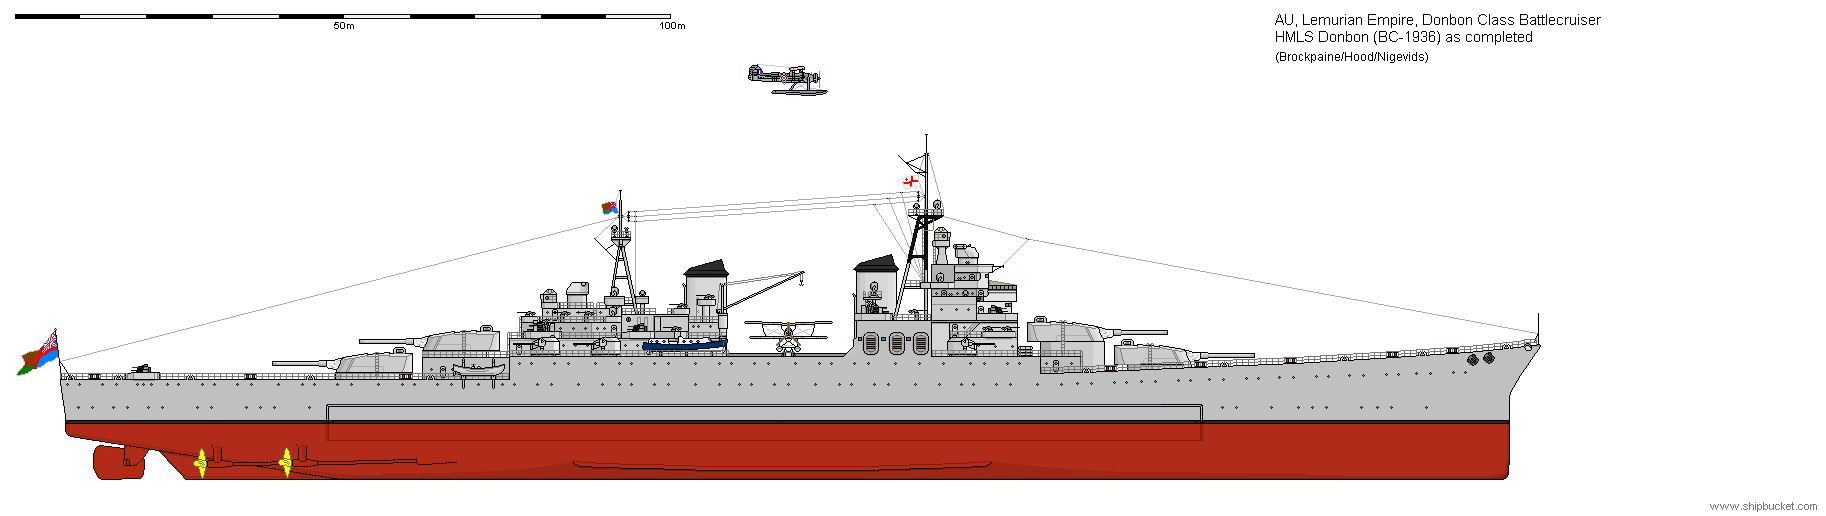
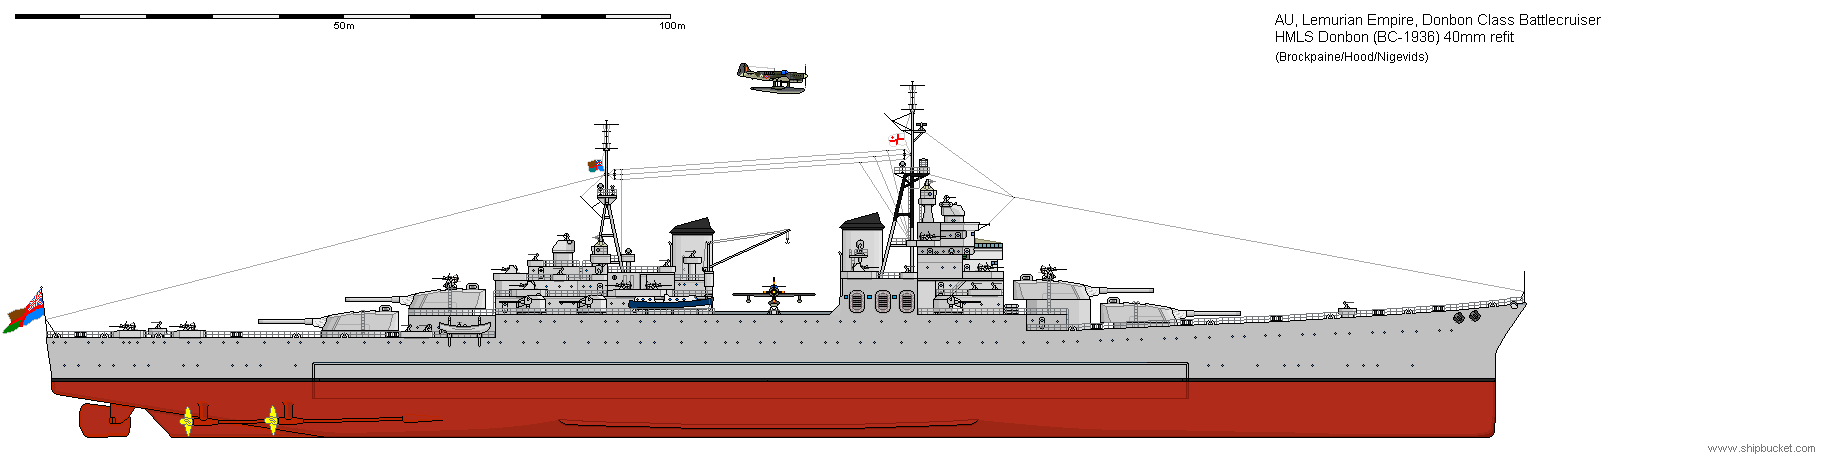
Their was nothing spectacular about the Donbon. Solid main armament, useful dual purpose secondary armament and the AA weapons were enough. Onboard aircraft so that it could act on its own. If it was used as a Squadron Flagship for cruisers there was plenty of room for a Commodore or Admiral and their staff. Mostly the ship would be part of the main Fleet based at Colombo and be part of Battleship Division One with the two King Andriamanelo class ships. The Donbon stayed with Bat Div One till 1942 when it was recalled to Colombo for its 40mm refit to make it ready for service in the Pacific. The Donbon and its Squadron were sent to replace losses in the Battles around the Solomon Islands. 1942 the Donbon would be joined by the King Andrianjaka, and King Andriambelomasina, to form the 3rd Cruiser Squadron. A week later a Diana Class AA cruiser was added to the Squadron to bolster the AA firepower.
Since I have pinched the turrets from the Ambony, I have also fought the Konishi all over again. (Cheater!)
The 3rd Cruiser Squadron was fully engaged around the Solomon Islands providing fire support for the Allied forces on Guadalcanal. The Japanese land forces reported the presence of a battleship in the area due to the 15" shells being fired by the Donbon. To counter this the Japanese added the Konishi to the next effort at clearing the Allied forces out of the area. You can see whats coming, eight 15" against six 16", must be an even contest. It is when you count in the much superior radar the Allies had. The equaling factor for the Japanese was the 24" Long Lance torpedo. The Japanese forces were coming down the slot, the Konishi had been mis-identified as another heavy cruiser, giving the Japanese the battlecruiser, two heavy cruisers, two light cruisers and eight destroyers escorting three transport ships. The Allied forces had Australis, Lemurian, US, and Zealandian ships. This mish-mash had never worked together before and were scattered all around the area to where they were best suited for the ships they had. Lemuria had the 3rd Cruiser Squadron and two destroyers. These were tasked with covering the landing and bombardment areas usually used by the Japanese. Lemuria held the left side, Australis the right. These two forces had acted together in the past and had the same codes and signaling. The US had three cruisers and destroyers above Savo Island covering the passages from the north. The two Zealandian cruisers were away to the east acting as the back up force to assist where they would be needed.
The major Japanese ships arrived in the battle arena at 25 knots, timing their arrival for 12.30am. They expected opposition and were ready to fight. The Konishi and the two Heavy cruisers were to shell Henderson Field while the light cruisers and destroyers got the transports to the landing site. The best laid plans do not always run smoothly. The Konishi and the cruisers opened fire at long range on the airfield, it was such a big target they felt they could not miss. After just two salvoes at the airfield eight very large splashes arrived around the Konishi. The 'battleship' had opened fire. The Captain of the Konishi ordered the cruisers to continue the bombardment while the Konishi would take care of the 'battleship'. The two big ships continued to fire at each other, but the Donbon was hitting the Konishi more times than what it was receiving. Both were incurring damage they were not really designed to take. The Konishi was a battlecruiser and 15" hits were causing considerable damage. Konishi had one turret already knocked out. The Captain of the Konishi had ordered the two heavy cruisers to fire torpedoes at the Lemurian ships. The cruisers had to reply 'no torpedoes available'. The AA cruiser had done its job, targeting the torpedo banks areas with streams of 4.5" high explosive. It was not till the cruisers turned North that they were able to fire a single bank of four torpedoes at the Lemurian line. One of the 15" hits, triggered the rear 3.9" magazine, opening the hull to the sea and damaging the machinery, reducing the Konishi's speed. The Japanese Admiral sounded the recall and ordered the Konishi to make best speed north. Konishi and the two heavies now came under fire from the Australis cruisers that had been racing to join the fight from the west. The Konishi was just too big for the 6" and 8" guns to do much damage. The Japanese light cruisers, destroyers and transports had headed for the beach head they were to land the troops and supplies on. The US force came around the back of Savo Island and caught the Japanese ships against the land. The transports were ordered to beach themselves and try and unload as much as possible before Allied air attacks would destroy them. The Japanese destroyers fired half their torpedoes at the US ships, that's 32 torpedoes in the water. The US cruisers turned course and ran right into the shoal of torpedoes. All three received hits, one sunk two damaged. The Japanese cruisers and destroyers joined the Konishi all heading north. Leaving broken and sinking ships behind them.
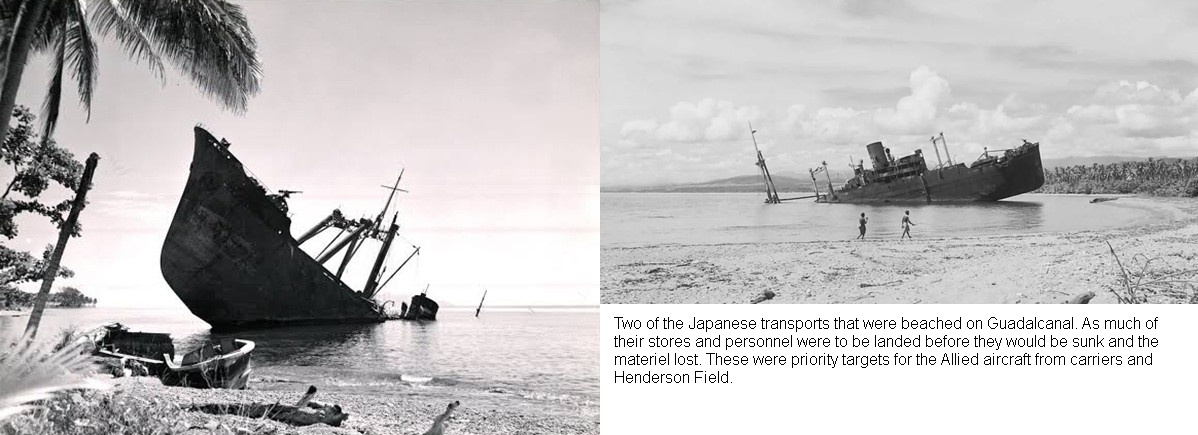
Of the four torpedoes fired at the Lemurian ships, as the Japanese retreated, the one hit on the Donbon, stopped the ship from continuing the chase to sink the Konishi. Admiral Halsey sent off his attack planes, the next morning, after the Konishi, which caught and sunk it, with torpedo and bomb hits. The damage to the Donbon was hastily patched and the Donbon then limped back to Colombo for the major repairs required to fix the damage. The 3rd cruiser squadron being disbanded.
It would be late 1943 before the Donbon was ready to rejoin the war. Having such a long time in port, 80% of its officers and crew were transferred to other ships. The bulk going to the battleship Vazimba that was newly completed. The Donbon would have to train a new crew and officers, and it would be some time before the ship would have anything like the crack crew the Donbon had had at the Solomons. That is a continuing problem with all navies, when new ships are completed, a core crew is provided, from other ships, with a set of new entrants to make up the crew. "A ship is only as good as its crew". The real life Ark Royal suffered with this problem. About half its crew was taken to provide the core crew for a new carrier. The new entrants were still green when it was torpedoed. The crew was not good enough at the comprehensive damage-control measures required, and these were not initiated until 49 minutes after the attack. The flooding spread unchecked, exacerbated by covers and hatches left open during evacuation of the lower decks. The new crew had not known what to do. The Ark Royal was lost.
On completion of the battle damage repairs, the Donbon joined the Vazimba in working up the crew before they were dispatched to the Eastern Mediterranean as Bat Div One (Lemuria). The ships did little sea time as the Mediterranean was by then a bit of a backwater with the Italian surrender. These two ships (especially the Vazimba) were not to be put in range of Fritz-X or HS-293 glider bombs. The Donbon became the Vazimba's shadow. Where it went the Donbon was sure to follow.
The two ships went back to Lemurian waters in 1944 and joined the newly created Commonwealth Pacific Fleet. Eight carriers, half a dozen battleships and more cruisers and destroyers than you could shake a stick at. This force backed by a Fleet train with transports for both stores and Marines were tasked with clearing the myriad of small Islands with Japanese forces on them in the South China Sea. The main fleet would bombard the island with aircraft and big guns, then the Marines would clean up. Unless there was a very big garrison this would only take a few days, then move onto the next one.
The big islands with large Japanese garrisons were bypassed. Celebes, Borneo etc would have required a major effort to retake. Better to starve them out and wait for Japan to surrender. I have read where some Japanese troops did not believe that Japan had surrendered and were still at war on their little island thirty years later. Incredible.
Hiroo Onoda: An intelligence officer deployed to Lubang Island, Philippines, in 1944. He refused to believe the war was over and waged a guerrilla campaign for nearly 30 years. He finally surrendered on March 9, 1974, only after his former commanding officer traveled to the island and personally rescinded his orders. Read more on the Hiroo Onoda - Wikipedia page.
The Donbon was still a part of Bat Div One, which was now a four ship squadron during the 1950's. They fought at Korea with the United Nations Bombardment Group. That was their swan song. The Donbon was surveyed in the 1950's to see if it might be suitable to mount missile armaments on it. However the survey showed that the damage from the torpedo hit in 1942 was not optimal and the Donbon was put on the list for sale or scrap. 1958 the ship is sold for scrap.