British Battleships -v- Germanic States Battleships and battlecruiser
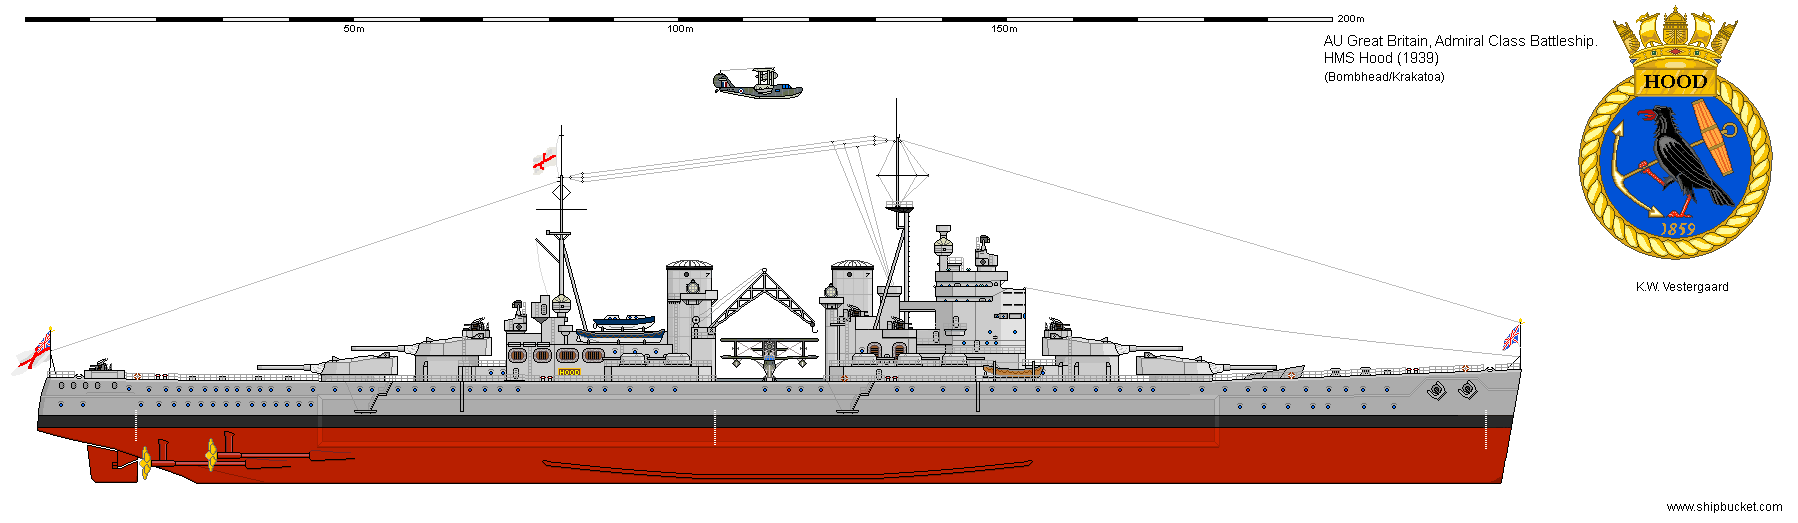
BB Hood
BB Howe
CA Exeter
CA Roxburgh
CL Ajax
CL Achilles
CL Leander
10 Destroyers
-v-
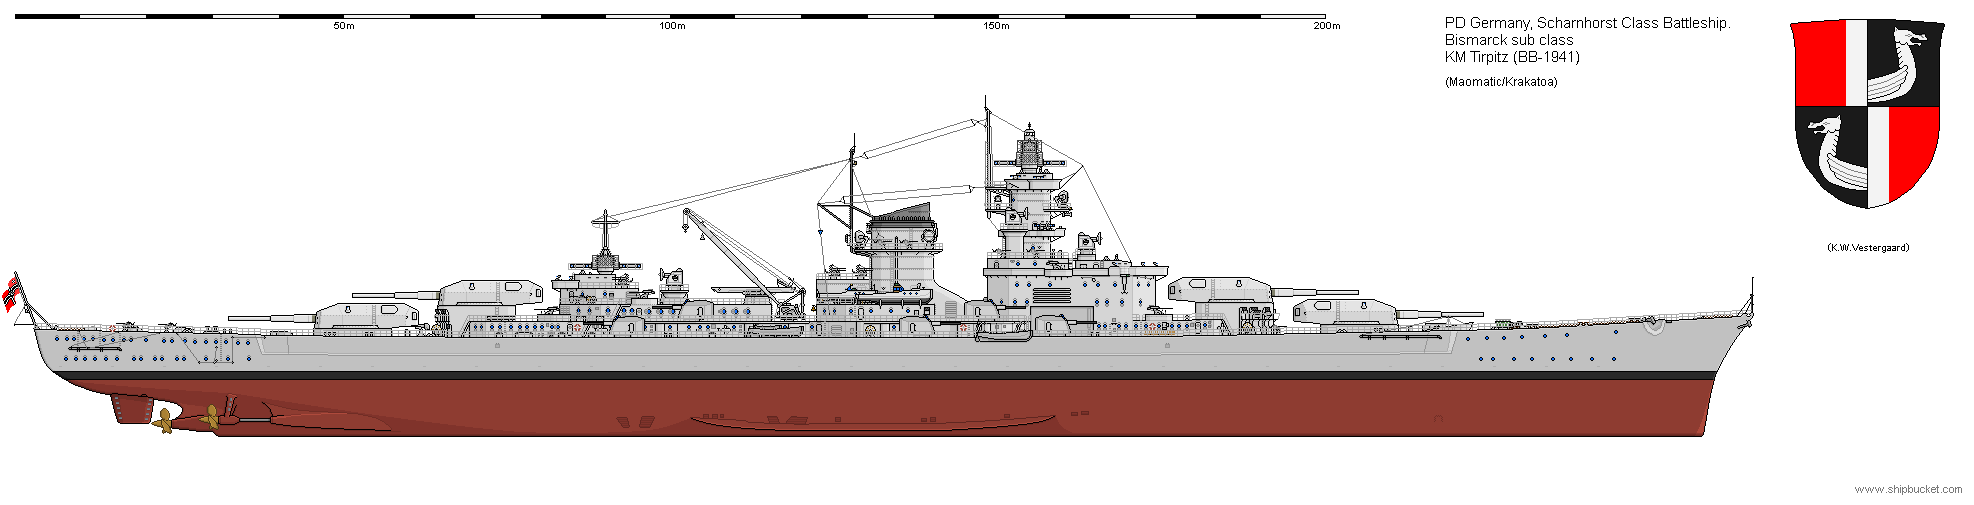
BB Scharnhorst
BB Gneisenau
BC Graf Spee
4 Destroyers
.png)
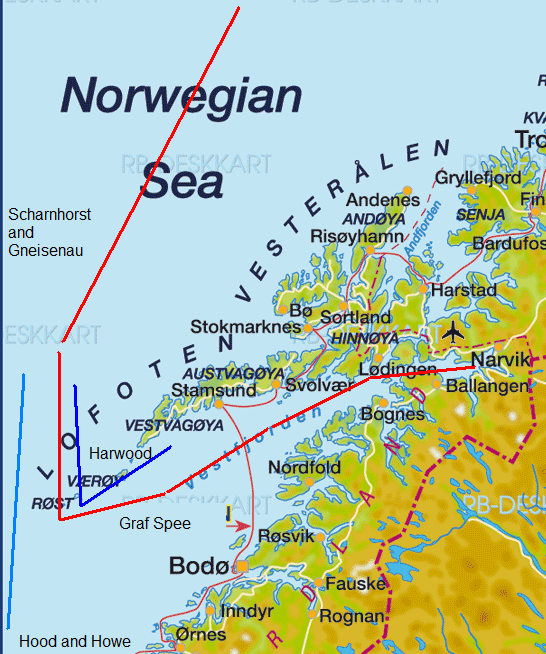
Battle of the Norwegian Sea 08/May/1940
British Battleships -v- Germanic States Battleships and battlecruiser
BB Hood
BB Howe
CA Exeter
CA Roxburgh
CL Ajax
CL Achilles
CL Leander
10 Destroyers
-v-
BB Scharnhorst
BB Gneisenau
BC Graf Spee
4 Destroyers
The attack on Norway by the Germanic States forces came as a shock to the
British who were planning on taking Norway themselves to deny it to the G.S.
Rather than just put forward their attack and go for it, the British landed
all the troops aboard their warships which were then sent off to intercept
the German shipping. The G.S. planning had been much more thorough than
thought. G.S. merchantmen sitting in Norwegian harbours would lift there
hatch covers to allow the troops below to erupt over the sides and take the
ports which had just had G.S. warships sail into in support. There were
several airports and airfields that the G.S. forces targeted and the one at
Stavanger the G.S. airborne troops arrived in their Ju-52 aircraft, landed
on the airfield and took over. Within hours the airfield was operating with
G.S. bombers and fighters dominating that area.
The Graf Spee was fully involved with the invasion. It was part of Force
Bodo, with the Battlecruiser, one light cruiser, and two destroyers,
carrying 400 troops aboard, which it was felt all was needed to take that
small port. Any resistance could meet the guns of the fire support ships. On
'Norway' day the Graf Spee sailed into the port, up to a wharf, tied up and
the troops marched ashore. At 6.00am there was no one awake to stop them. No
alarms had been raised that the Germans were attacking and it was not till
8.30-9.00am that an alarm was raised from the General Headquarters in Oslo,
which by then was under attack itself by Force Oslo.
The Graf Spee and the two destroyers had orders that once the port was
taken, to leave the light cruiser in charge, and to follow up Force Narvik
as that forces heavy support ship. The port of Narvik with its connection to
the Swedish Iron ore producing area was of paramount importance to the
continuation of the Germanic States war machine. It was one of the main
reasons for the invasion. To ensure continued supply of the Iron ore during
the winter months when the Swedish Baltic ports were closed.
No sooner than the Graf Spee had left port than it ran into a small force of
British cruisers and destroyers. They too were on their way to Narvik to try
and retake the port from the 'destroyer' force they had been told was there.
A running battle ensued with the Graf Spee firing the odd salvo at the
cruisers which kept at the Graf Spee's maximum range and were screaming for
help. The heavy cruiser Roxburgh got unlucky with two 13.8" shells hitting
the boiler and engine rooms. The Roxburgh came to a dead stop still firing
at the Graf Spee, but with another two full salvoes poured into the
Roxburgh, the ship rolled over onto its beam ends and went down. The Graf Spee continued on for Narvik, making its own reports to the
High Command so they could co-ordinate the attack then defense of the
various landing areas. Bodo was important as it also had a small airfield
from which the Luftwaffe could operate.
Both the G.S. and British High Commands knew they had ships at sea but
neither side knew exactly where the big boys were till one side or the other
located one. The spotting report of Graf Spee with just two destroyers gave
the British Admiralty the chance to put down a G.S. capital ship. British
ships that could catch and dispatch the Graf Spee were not that common. The
main British fleet was at the level of Trondheim and was trying to ensure
the main G.S. Fleet was kept to the Stavanger area. Two
Admiral Class (HMS Hood and HMS Howe) battleships were dispatched with a
cruiser and four destroyers to join the three cruisers and six destroyers
heading for Narvik. The new fleet, under Admiral Whitworth, had easy orders,
clear out the Narvik area of G.S. forces and sink the Graf Spee. The final
part of the Battle of the Norwegian Sea to come, is the
Scharnhorst and Gneisenau which
had, as part of their orders, 'destroy the weather reporting station on
Jan Mayen Island'. That completed they were to return to the Narvik area to
lend their support if required. Their support would definitely be required.
The Graf Spee was heading for Narvik on the cruising diesels as it would be
able to refuel at Narvik where the G.S. forces had placed a tanker for just
that purpose. There were already eight G.S. destroyers in Narviks Fjord
system, having landed the troops and light artillery that had taken the
town. The Graf Spee made Narvik, refueled and headed out to sea to join the
Scharnhorst and Gneisenau. Graf Spee took four destroyers with it which were
to assist the Graf Spee to force past the cruisers and destroyers that were
in the Vestfjord to try and hold up and shadow the Graf Spee if it tried to
leave before the two battleships arrived.
The
Exeter,
Ajax and Achilles (what other cruisers would they be?) had to force the
Graf Spee to go the way the British wanted it to go, namely onto the guns of
the Hood and Howe. Aboard the Ajax was Commodore Harwood, in charge of the
three cruisers and destroyers. It would be Harwood's handling of his ships
that brought the finale to the Battle of the Norwegian Sea.
The Graf Spee would need to go to the bottom of the Lofoten Islands before
it could turn North to join the Scharnhorst and Gneisenau. Commodore Harwood
wanted to keep the Graf Spee going south and not turn North till as late as
possible. To do this Commodore Harwood had to put his ships in harms way.
Only the Exeter could fire as far as the Graf Spee and it was those two
ships that opened the battle at 28,000 yards, firing more for effect as hits
at that range would be extremely lucky. Neither ship got lucky till the
range reduced to 25,000 yards when two 8" hits were scored by Exeter on the
Graf Spee's armour, causing no damage. It was the return hit from the Graf
Spee that did some damage. The big 635 kilo shells tore chunks out of the
Exeter (and the other cruisers) when they hit. That first hit was on the
Exeter's armour and just went straight through destroying the fire control
plotting system and putting the Exeter's guns into virtually local control.
First blood to the Graf Spee. The two British 6" cruisers now came into
range and started to hit the Graf Spee at 20-22,000 yard range. The hits may
not be hurting the Graf Spee's overall survivability but these hits would
knock out unarmoured areas. AA guns, secondary guns, optical equipment,
radar, all were vulnerable to the British 6" and 8" hits.
Two more hits on the Exeter and the Exeter was in trouble, one hit in the
aircraft handling area and a large fire was started which also burnt out the
radio room, while the third hit damaged the engine room, slowing the Exeter
considerably. The Exeter and a destroyer left the battle heading South. The
Exeter would survive to go onto fighting the Japanese, and being sunk by
them. This left the two 6" cruisers and five destroyers facing the
Graf Spee. The range was getting down to where the destroyers guns and the
Graf Spee's secondary weapons and its escorting destroyers could start
firing at each other. Gun flashes and shell splashes were everywhere around
the twelve ships. The Graf Spee's main armament would boom away while the
lesser guns would crack away. Commodore Harwood ordered a torpedo attack
from the destroyers and both sets of destroyers went at each other, fighting
for position. The G.S. destroyers signaled to Graf Spee that there were
torpedoes in the water and the Graf Spee was forced to turn South. Returning
to its base course the Graf Spee steadied and fired at the Ajax. Three hits
from that salvo and two more from the next and the Ajax was history waiting
to sink. Two hits forward with a sympathetic explosion from the A magazine,
blew the bows off the Ajax. If that was not enough, three more hits along
the length of the Ajax blew out one of the boiler rooms, destroyed the after
control position and put the after turrets out of action. One minute a
beautiful 8,000 ton cruiser, the next minute a sinking wreck. Commodore
Harwood was one of the survivors rescued and he would go onto bigger and
better things. The destroyer battle had resolved itself with one G.S.
destroyer limping back toward Narvik and the other three still covering the
Graf Spee's flanks. The British destroyers had lost one ship to a torpedo
hit and the other four were trying to harry the G.S. destroyers and keep
them occupied.
The Captain of the Achilles heard the masthead cry "ships to the South", and
knew his job was done. The loss of the Ajax and damage to Exeter could be
revenged. The order came from Admiral Whitworth, "clear my firing lines" and
the first big shells from the 15" guns roared past. Short, but close, it
would only be minutes before they were in range. The Graf Spee changed
target to the British battleships, firing at the lead ship. Its guns fired
further than the British guns and its first salvo was just off line but good
for range. This was the Graf Spee's worst nightmare, modern British
battleships with 15" guns. It could neither run away or out fight them.
All the Graf Spee could do was run to the North and hope that it could come
within range of the helping hand from the Scharnhorst and Gneisenau. The
Hood and Howe were only two knots faster so it would take a bit of time till
they were close enough to deal damage to the Graf Spee. Being a stern chase
only the front and stern guns of the protagonists could fire at each other.
A 15" hit from Howe on the Graf Spee and the speed fell away. Scharnhorst
and Gneisenau are just ten minutes away to the north - just five miles.
The speed of the Graf Spee falling away to about 20 knots allows the two
British battleships too turn and bring all their turrets to bear. The Graf
Spee parallels their course, hoping to survive long enough for the S&G to
save it. No such luck. The ten minutes of concentrated fire from the 15"
guns turns the Graf Spee into a colander. Listing to starboard, the Graf
Spee starts turning in circles. One of the hits has jammed the steering
room. A quick run from one of the destroyers fires a bank of five torpedoes
at the Graf Spee, three torpedo hits later the Graf Spee rolls over and
sinks. The destroyer explodes as shell splashes and hits from big guns
surround it and sink it. All British eyes turn to the North where flashes
show the Scharnhorst and Gneisenau have arrived, much to the horror of
Admiral Whitworth.
Site Editors Notes: The Scharnhorst and Gneisenau in
the German Superimposed Alternate Universe are big. They come about from the
increased size of the Germanic States replacement size being altered to the
new 60% limit of the 35,000 ton Washington Treaty (21,000 tons). This gives
ships of much better quality and staying power than the Deutschland class
'pocket battleships'. To counter these ships, the French opt for their right
of reply to the Germanic States ships to be full size 35,000 ton battleships
with 16" guns, the new French Dunkerque class ships are much better. As with
most of the Germanic States new build ships, the Scharnhorst class grew a
bit in their building. Instead of being the 35,000 ton limit the ships were
44,000 tons and instead of the 16" maximum, the Scharnhorst class had
updated 16.5" guns. Like the Hood and Howe had outgunned the Graf Spee, the
Scharnhorst and Gneisenau outgunned them.
Admiral Whitworth turns South and starts screaming for help, hoping the
battlefleet and its aircraft carriers to the south would save him. Leading in
the Howe with the Hood trailing, Admiral Whitworth sent his light forces ahead
at best speed while Admiral Marschall in the Scharnhorst kept his destroyers to
one side out of his firing lines. What had worked in Admiral Marschall's favour
was that all British eyes had been drawn to the end of the Graf Spee. This had
allowed his ships to get well within range of the British ships before the
Scharnhorst announced its presence by sinking the Tribal class destroyer that
had put the torpedoes into the Graf Spee. Firing orders given, the Scharnhorst
and Gneisenau start to flay the British ships bit by bit. Gneisenau's fifth
salvo is in the air and hits the Hood with three shells. Two hit the after
superstructure and the area around the X 15" turret. The third hits the forward
superstructure causing it to tilt to one side. Gneisenau's next salvo is in the
air, but never arrives, where the Hood was is now just a memory. The aft end of
the Hood just vapourises (my word of the year) as one of the big 16.5" shells
sets off the aft magazine setting off a chain of explosions that splits the back
half of the Hood away and it sinks immediately. The forward half is still
afloat, but not for long and two destroyers hurry alongside to pull off as many
survivors as possible before it too disappears. With both Germanic States
battleships now firing at him, Admiral Whitworth is just about to bend over and
kiss his ass goodbye, when his saviours arrive. "Aircraft to the south" comes
the cry and flights of torpedo bombers, dive bombers and fighters go past to
attack the Germanic States ships.
Admiral Marschall is forced to watch the Howe disappear over the horizon as his
ships have to maneuver to avoid the torpedoes and bombs. One of the destroyers
takes a torpedo hit and then two bomb hits and sinks. The Scharnhorst and
Gneisenau receive a pair of bomb hits each which do little damage but mark the
end of the Battle of the Norwegian Sea.
Both sides had major losses of a capital ship each. The British had lost more
overall, but had the resources to lose a few more ships and still hose the
Germanic States overall. Losses of capital ship rank hit the Germanic States
hard as they just cannot replace them as quickly as the Commonwealth can.
Return to Sea Battles page