|
The Norwegian Campaign:
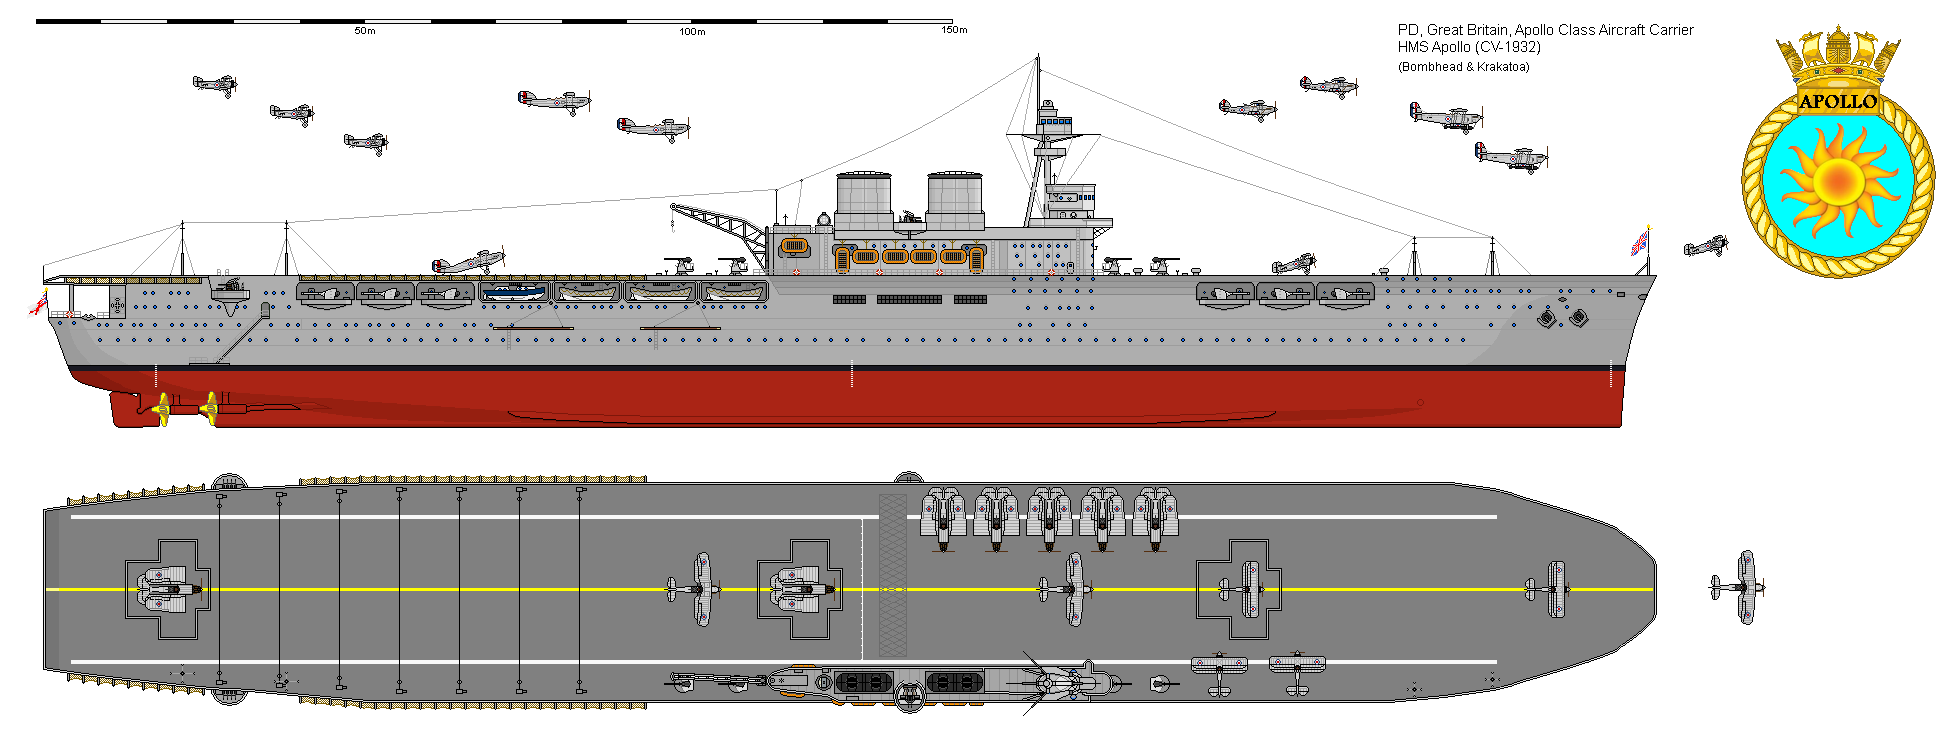
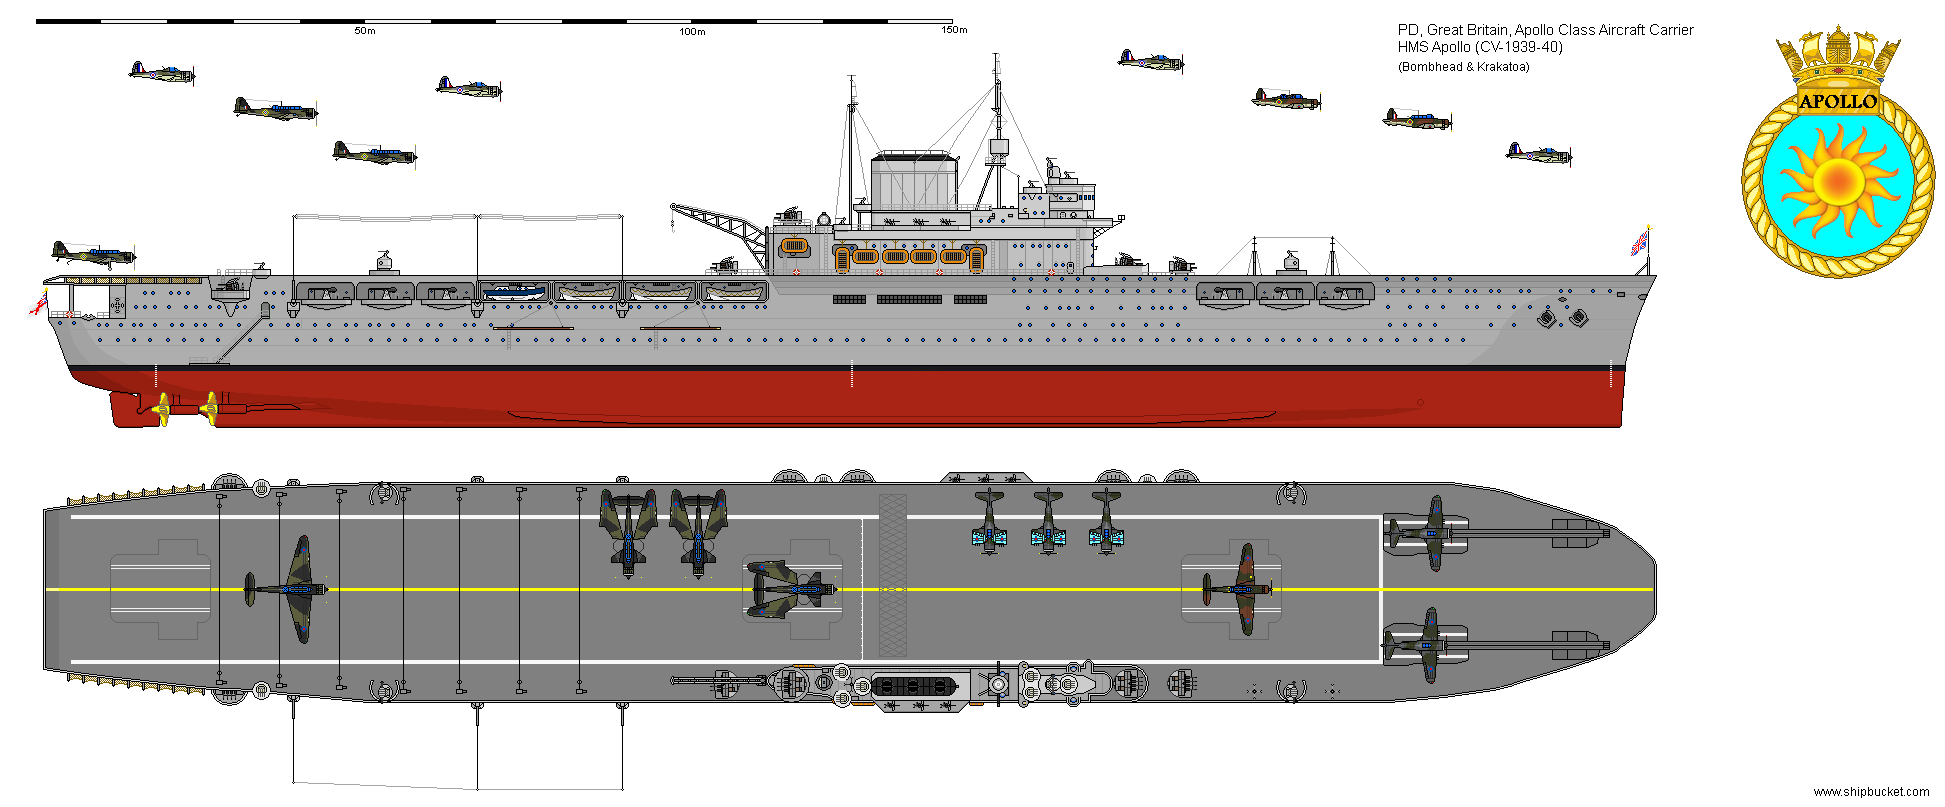
HMS Apollo was added to Admiral Whitworths squadron
containing HMS Majestic and HMS Warspite (BB's), HMS
Hawkins, HMS Kent, HMS Surrey (CA's), with a dozen
destroyers. Their brief was to intercept German
shipping in the Trondheim and Narvik areas. The
weather was appalling. The latest search radar on
Majestic was a godsend. Not only did it manage to
spot enemy forces it allowed the Admiral to 'see'
were his own ships were and keep some cohesive
control over their dispositions. Majestic 'saw' two
large blips moving North at high speed, the 'chase'
order was given but only Majestic and Apollo were
able to match the speed of the enemy ships and even
they started dropping behind. Admiral Whitworth
called off the chase and the Scharnhorst and
Gneisenau sailed off into the Atlantic unaware of
how close to being caught they had been.
While recalling his ships together a distress call
was heard from HMS Gloworm that had encountered the
Hipper and its destroyer escorts. Kent, Surrey and
four destroyers were sent to intercept the Hipper
and search for survivors. The Hipper made it to
Trondheim and secured the port and by the next
morning had secured the airfield which was then used
by the Germans for air support missions against the
British ships. It was now that the Apollo came into
its own. In a dawn raid, the Apollo's aircraft
caught the Hipper in harbour, putting a torpedo into
it and the Skuas hitting it twice with bombs. More
Skuas and Griffons attacked the airfield and caught
the Germans on the ground, destroying the aircraft
and facilities with guns and bombs.
Kent, Surrey and the destroyers having missed the
Hipper are ordered to sweep north through the Inner
leads up to Narvik. Admiral Whitworth and the main
body stay outside the Leeds and head north on a
parallel course. The conditions have not improved
much outside in the Norwegian Sea and the weather
has kept a lot of the air superiority, gained by
having the Apollo, is grounded aboard ship. The
Inner Leads Squadron (ILS) runs into a group of four
German destroyers which turn tail and dive back into
Narvik fjord. Admiral Whitworth orders the ILS in
after them. The line is led by HMS Hardy (Captain
Warburton-Lee), Hereward, Surrey (Commodore Smith).
Kent, Hero, Hotspur. (Anybody who has read the
'Smith' series by Alan Evans will recognise my
Commodore).
Unknown to the ILS there is actually now ten
destroyers stuck in Narvik due to lack of fuel.
Conditions of low cloud and mist also hamper the
squadrons activities. The squadron went down the
fjord at 15-20 knots per the Commodores
instructions. Passing one of the numerous cross
fjords, the yell of torpedoes is heard from the
lookouts, what looked like a veritable shoal of
eight torpedoes burst out and onto the line of
ships. Hardy and Hereward both received a torpedo
hit each. Hardy, hit in the stern uses its momentum
to run ashore, the crew flooding over the bow to the
safety of dry land, then having to fight the German
lookout position that had signalled when to fire the
torpedoes to the hidden destroyer. That destroyer
did not have much longer to live as in a brisk 5
minute action both Surrey and Kent hit the destroyer
with multiple strikes that ignited magazines and
literally blew it out of the water. The Hereward
with its bows blown off managed to limp backwards
out to where the bulk of the squadron waited. It
would be many months before Hereward would again be
available for service.
At the rate of loss of two to one the squadron would
not last long even against the three destroyers that
the Commodore thought were left. The Commodore
called up the two pilots and asked for a volunteer
for what could be a suicide mission, launching a
Walrus into the murk of that day. Both men stepped
forward and the Commodore selected the more
experienced pilot. The Walrus is launched and
trundles down the fjord acting as the eyes of the
fleet. This pays almost immediate dividends with
another ambush point being spotted. The lookout
point being blasted, the Hero went past the mouth of
the fjord at 30 knots firing two torpedoes, both of
which hit the anchored German destroyer, turning it
into a sunken wreck. The Walrus had continued down
the fjord while the squadron had dealt with the
ambush, but found no more ambushes. Reaching Narvik
harbour itself the observer sent warning that there
were six more destroyers in harbour. It was now that
the two heavy cruisers proved their worth being able
to use standoff fire outside the range of the German
destroyers 5" and using the Walrus to spot for the
shoot. The German destroyers made smoke to try to
conceal themselves but this was blown away in the
windy conditions. Three more German destroyers
became total wrecks under the withering fire of the
cruisers 7.5" guns. The other three having varying
degrees of damage. It was at this point that the
missing two German destroyers made an appearance
firing torpedoes and guns at the cruisers. A lucky
torpedo hit on the Kent forced the remains of the
ILS squadron to withdraw. While damaged the Kent was
still able to make 15 knots. So ended the First
Battle of Narvik.
Offshore the weather started abating in the
afternoon allowing the Apollo to launch
reconnaissance aircraft. These aircraft surveyed the
Narvik fjord system and noted the survivors of the
Hardy. The remaining 5 damaged German destroyers
were all in Narvik Harbour. The aircraft sent to the
north spotted the Scharnhorst and Gneisenau
returning from destroying the weather station on
Spitzbergen to support the destroyers in Narvik.
Having seen they were spotted and having lost the
advantage of surprise and not knowing what was
facing them, the S&G followed their main orders and
reversed course heading for the passes out into the
Atlantic. A strike force was sent out after S&G but
was unable to locate them before dusk. This left the
dive bombers and a few fighters to attack Narvik.
The Hero was sent in to retrieve the Hardys
survivors. The Narvik air strike force met with
heavy covering fire from the destroyers and the
troops the destroyers had landed. Despite this two
more destroyers were sunk and two more heavily
damaged. Of the original ten German destroyers, only
one effective unit remained. An eventual decisive
victory to the British forces.
At this point having spent almost two weeks at sea
the ships of Admiral Whitworths fleet were withdrawn
to the Faeroes where replenishment ships were
waiting for them. During this passage the Apollo was
torpedoed by a U-Boat. Heavy damage and listing was
not aided by a crew that had only been together for
six weeks. The ship was righted and being down by
the stern was taken in tow by the Surrey and with
three destroyer escorts, headed for Rosyth and the
safety of a dockyard. This first service period of
the Apollo had netted the damage to the Hipper, the
sinking of the destroyers in Narvik, and while the
ship is in for repair, the ships Skua dive-bombers
finish off the damaged Hipper, sinking it with a
further 5 bomb hits.
More instalments to come on the service life of the
Apollo.
|


